Learn the Different Types of Handstands
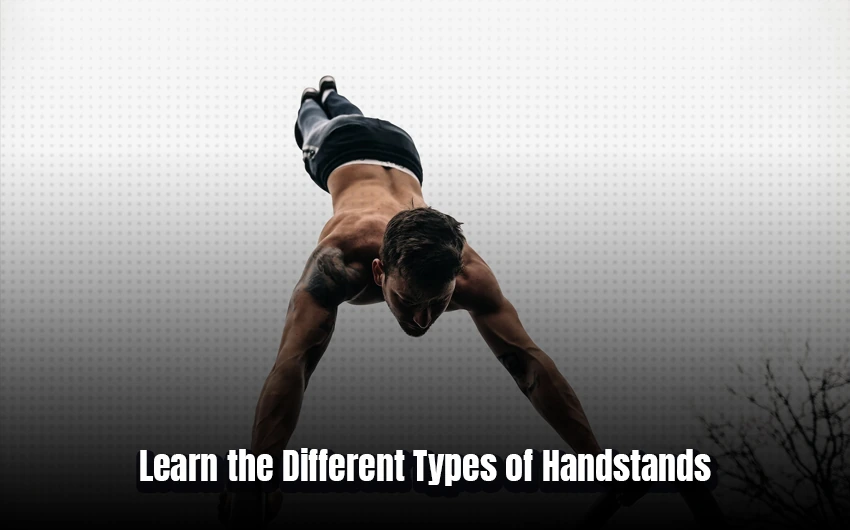
Handstands are an impressive and fun way to display balance and strength while providing a great physical workout. Whether you're a beginner or an advanced-level acrobat, practicing handstands is an essential skill to master. This article will provide an overview of the different types of handstands, as well as instructions on how to safely perform them. From upside-down yoga poses to one-arm handstands, there are many variations that can challenge any athlete.
What is a Handstand?
A handstand is an acrobatic move in which a person stands on their hands with their feet in the air. It requires strength and balance, as well as a certain degree of flexibility. Handstands can be performed in different variations, such as one-handed, pike, and straddle.
Handstands are often used to add how to lose 40 pounds in 2 months interest to gymnastics routines and are popular among circus performers. They can also be used for stretching purposes or simply for fun. To perform a handstand safely, it is important to warm up your muscles beforehand and practice with spotters until you have perfected your technique. Additionally, using a wall for support can help you maintain your balance while learning the move.
Common Types of Handstands
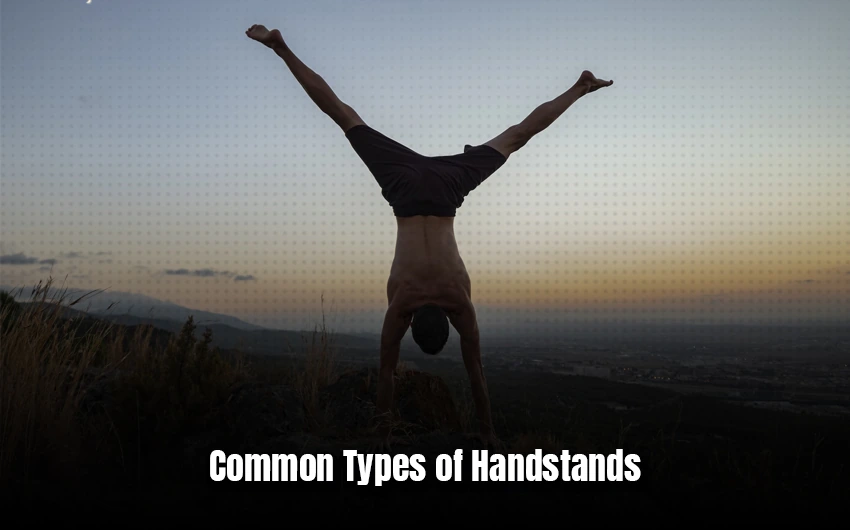
There are many different types of handstands that can be performed. The most common type is the following:
Dynamic Handstands
Dynamic handstands are a great way to increase your strength and balance. To get started, you'll need to build up your core strength and shoulder stability. Here are the steps for performing a dynamic handstand:
- Start in a plank position with your hands firmly planted on the ground and your shoulders directly over your wrists. Make sure to keep your core engaged and your body in a straight line from head to toe.
- From there, begin to walk your feet towards your hands as you lift one leg off the ground at a time. Keep both legs together as you move them toward the wall or an object that will help support you while you practice.
- Once you reach the wall, slowly shift all of your weight onto one arm while keeping the other arm extended up toward the sky. As soon as you feel comfortable, start to kick both legs off of the wall and into a handstand position.
Plyometric Handstands
Plyometric Handstands are a great way to build strength and stability in your upper body. Here are the steps for performing this exercise:
- Start in a low plank position with your hands directly under your shoulders and your feet together. Keep your core engaged and back straight.
- Lift one arm off the ground and swing it up towards the sky, keeping your core tight as you do so. At the same time, lift your feet off of the ground and use momentum to bring yourself into a handstand position.
- Exhale as you come into a handstand, holding for two seconds before slowly lowering back down to starting position on an inhale. Make sure that you keep your core engaged throughout the entire exercise to ensure proper form and avoid injury.
Wall Assisted Handstand
A wall-assisted handstand is a great way to build strength and confidence in your handstand practice. Here are the steps to get you started:
- Start by standing with your back against the wall. Place your hands on the ground, shoulder-width apart, and spread your fingers wide.
- Lift one leg up and place it on the wall, keeping your hips square. Take a few breaths here to find balance and adjust as needed.
- Once you’re comfortable, slowly lift both legs up onto the wall until your body is in a vertical line from head to toe. Hold this position for a few seconds before releasing down into a squat or child’s pose to rest.
Practice this sequence several times each week and you’ll soon be able to do a freestanding handstand with ease!
Tuck Handstand
The tuck handstand is a challenging but rewarding skill to learn. It requires strength and flexibility, as well as practice and patience. Here are the steps you should take to master this move:
- Start by building up your upper body strength. Push-ups and other exercises that target the arms, shoulders, and core should be done regularly in order to build the necessary strength for a tuck handstand.
- Once you have built up your upper body strength, it’s time to practice the skill itself. Start by getting into a handstand position against a wall and slowly lower yourself into a tucked position with your knees bent towards your chest as much as possible. Hold this position for several seconds before pushing back up again.
- As you become comfortable with the tucked handstand position against the wall, try it without any support from the wall or floor.
Straddle Handstand
The straddle handstand is a great exercise to help build strength and balance in your upper body.
- To do the straddle handstand, you'll need to start in a standing position with your feet shoulder-width apart.
- From there, bend forward and place both hands on the floor slightly wider than shoulder-width apart.
- Keep your legs straight and press up into an inverted V shape, using your core muscles to keep your balance. Once you're comfortable in the inverted V shape, begin to open up your legs until they are outstretched on either side of you.
- Make sure that you keep your toes pointed so that they don't touch the ground.
- Keep pressing up through the palms of your hands as you bring one leg off the floor at a time until both legs are in a straddled position.
- Hold this pose for several seconds before slowly lowering yourself back down to the ground.
Best Handstand for Advanced Skill Level
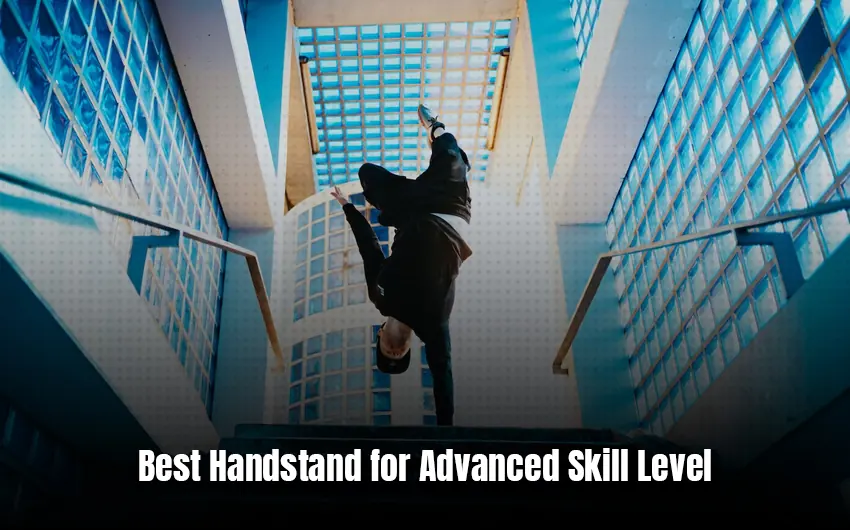
For an advanced skill level, the best types of handstand are listed below:
Press Handstand
The press handstand is a challenging but rewarding skill to learn. Here are the steps you can take to practice and eventually master this move.
- First, start by practicing shoulder stands and handstands against a wall. This will help you build strength, balance, and confidence in your body.
- Once you have mastered these basic skills, begin working on the press handstand.
- Start by pushing off the wall with one leg while keeping your other leg extended and your core engaged.
- As you gain more control, try to press off the wall until both legs are fully extended in the air.
Finally, practice pressing up into a handstand without any assistance from the wall or a spotter. To do this safely, make sure that you have plenty of space around you for soft landings if needed. With patience and dedication, you should be able to successfully complete a press handstand!
Handstand Walk
The handstand walk is one of the types of handstand that is an impressive and challenging skill to master. It takes a lot of practice and dedication, but with the right technique and training, anyone can learn how to do it. Here are the steps for completing a handstand walk:
- Start by mastering the basic handstand position. Make sure you have a wall or other support nearby in case you need help balancing. Practice holding your body in a straight line while your arms are supporting all of your weight.
- Once you’re comfortable with the handstand position, start to practice walking forward and backward on your hands. Start small by taking one step at a time, then gradually increase the distance as you become more confident and skilled. Make sure to keep your core tight throughout the movement to maintain balance and control.
- With enough practice, you’ll be able to move farther distances without losing balance or falling over!
Handstand Pushup
The handstand pushup is a challenging but rewarding exercise that builds strength in the arms, shoulders, and core. To perform a handstand pushup correctly, it’s important to start with the right form and technique. Here are the steps to do a handstand pushup:
- Begin by facing away from a wall and place your hands on the ground about shoulder-width apart. Place your feet against the wall and walk them up until you’re in an inverted position with your body straight from head to heel. Make sure your arms are straight but not locked.
- Bend at the elbows to lower yourself as far as you comfortably can towards the ground. Keep your core tight throughout this movement and make sure you don’t let your hips drop or sag toward the ground.
- Push back up through your hands until you reach the starting position again, keeping your body straight and aligned throughout this movement.
One Arm Handstand
The one-arm handstand is one of the types of handstands that is an impressive skill to learn and master. It requires strength, balance, and flexibility. Here are the steps for how to do a one-arm handstand:
- Start in a regular handstand position with both hands on the ground. Make sure your arms are straight and your feet are together.
- Slowly move one hand away from the ground while keeping your body balanced with the other arm. Keep your legs together as you shift your weight onto the remaining arm.
- Once you feel comfortable and stable, slowly lift one foot off of the ground and kick it up toward the ceiling. As you do this, make sure to keep your body balanced and centered on the remaining arm.
- Once you have kicked up into a full one-arm handstand, practice balancing in this position for as long as possible before slowly coming down into a regular handstand position again with both arms on the ground.
Mexican Handstand
The Mexican Handstand is a fun and challenging acrobatic skill to master. It requires strength, flexibility, and balance. Here are the steps for performing the Mexican Handstand:
- Start by standing on one leg with your arms outstretched in front of you for balance.
- Bend your standing leg and bring your knee up towards your chest as you lean forward, keeping your arms outstretched in front of you for balance.
- Once you feel balanced, use the momentum from bending your knee to swing your other leg up into the air while simultaneously leaning forward until you’re balancing on both hands with both legs in the air. Hold this position for as long as possible before slowly returning to the starting position.
Practice this skill regularly and pay attention to your form in order to perfect it! With enough practice, you’ll be able to perform a Mexican Handstand like a pro!
Forearm Handstand
The forearm handstand is a challenging but rewarding skill to master.
- To begin, start by developing your core and upper body strength with exercises such as planks, push-ups, and shoulder presses. This will help you build the necessary strength to support your body weight while in the handstand position. Once you have built up some strength, practice kicking up into a handstand against a wall.
- Start in a standing position facing away from the wall and place your hands on the ground about shoulder-width apart.
- Slowly kick one leg up at a time until both legs are straight out above you against the wall. If needed, adjust your feet so that they are flat against the wall for stability.
- Hold this position for as long as possible to build up endurance and balance before attempting to come down.
- Finally, when you feel ready, try to come down from the handstand without using the wall for support.
Conclusion: Get Started with Handstand Now!
In conclusion, handstands are a great way to get started with gaining strength and balance in your body. The steps outlined in this article can help you take your first steps toward achieving the perfect handstand. Regular practice, proper form, and using the right equipment can help you make big improvements quickly. Don't be discouraged if you don't get it right away; just remember to stay consistent and have patience as you progress with your handstand journey. With dedication, practice makes perfect!